The Service was Great! Scenario-based eLearning for Restaurant Waitstaff
This concept project helps restaurant waitstaff resolve common issues with customer dissatisfaction, involving problems with short-staffing and supply unavailability.
The intended audience is waitstaff at a family-owned restaurant that has been receiving poor reviews for their customer service.
I developed this project from concept through completion. Major roles included instructional design, visual development, scenario writing, authoring, and programming.
The tools I used were Google Docs, Miro Whiteboard, Snagit Screen Capture, Adobe XD, Microsoft PowerPoint, and Articulate Storyline 360.
The Problem
Angela’s Bistro has been experiencing the same hardships as many other restaurants during the post-pandemic reopening. It has been difficult to hire and retain workers, and supply-chain issues have caused many ingredients to be unavailable. Customer dissatisfaction has caused the restaurant to receive many negative reviews.
The Solution
I recommended scenario-based eLearning that allows waitstaff to make decisions regarding customer satisfaction in a risk-free environment. This scenario-based eLearning will show waitstaff realistic, memorable consequences of common missteps. Seeing these consequences and practicing the correct actions will help waitstaff to avoid making real-world mistakes.
My Process
After assessing the greatest pain points for both waitstaff and customers, I consulted a Subject Matter Expert to determine general best-practices for waitstaff. I also worked off my own experience as a restaurant patron, and observed various waitstaff as I was dining out. I also read various articles about the difficulties the restaurant industry is currently experiencing.
Action Map
Informed by the principles in Cathy Moore’s Map It, I used the information that I had gathered to develop an action map that would define actions that the waitstaff would take to ensure that their customers would leave feeling positive about their experience. I then defined the overall goal of the project, which is that the restaurant’s positive customer-service reviews will increase by at least 50% within 60 days of all waitstaff completing the training.
Text-based Storyboard
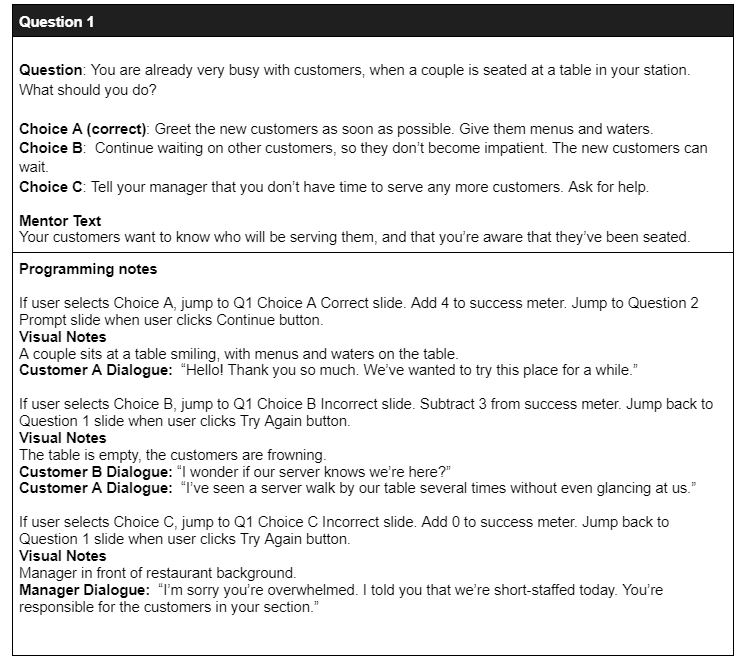
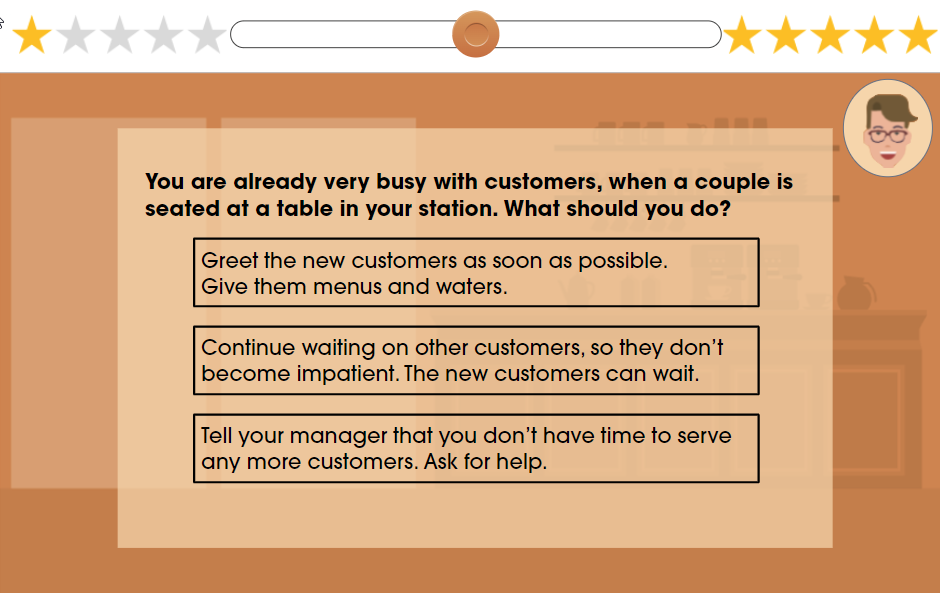
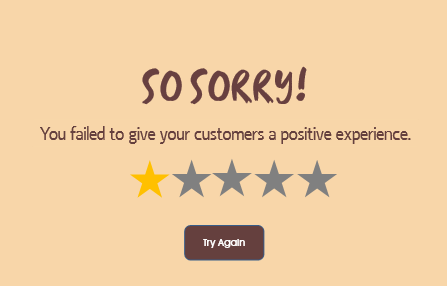
Using the Action Map as a guide, I worked with the expert to create a text-based storyboard that would serve as the blueprint for the project. I created a story that would engage the audience by immersing them in the situation. According to Mayer’s Principles of Multimedia Learning, people learn better from presentations when the text is in a conversational rather than a formal style. Keeping this in mind, I focused on keeping all narration and character dialogue in a friendly, informal tone. As the learner goes through the scenario, each option proposes three actions: a correct choice and two distractors. If the learner chooses the correct option, they will see a success meter moving increasingly toward a 5-star review. If the learner fails to choose the correct option, a Try Again button leads them back to the question. In the scenario, the learner can seek help from a mentor before choosing an option.
Visual Mockups
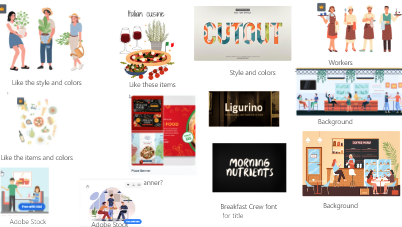
After the SME approved the storyboard, I moved into the process of creating a visual mock-up of the project. I began by creating a mood board in Adobe XD.
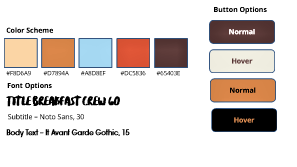
I used the images and fonts from the mood board in order to create a style guide for the project.
This guide would ensure visual continuity throughout the project. Once I obtained feedback on the style guide, I began creating a mockup of the project in Storyline. I made several iterations of slides, beginning with wireframes, and working toward the final layout that would appear in the project. I used Articulate Storyline to create the slide layouts.
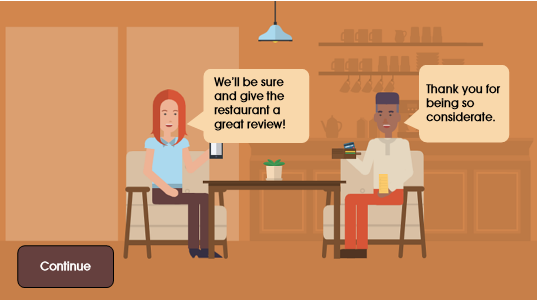
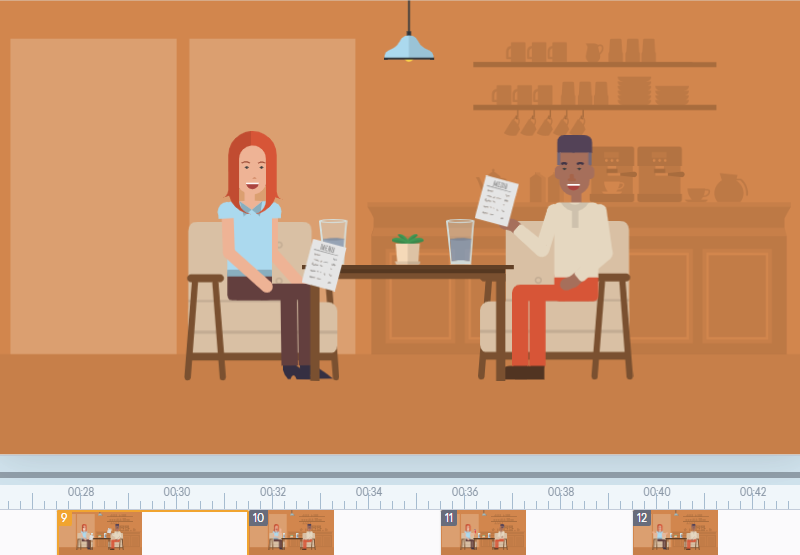
I worked in Vyond to create the illustrations, using the colors from the style guide.
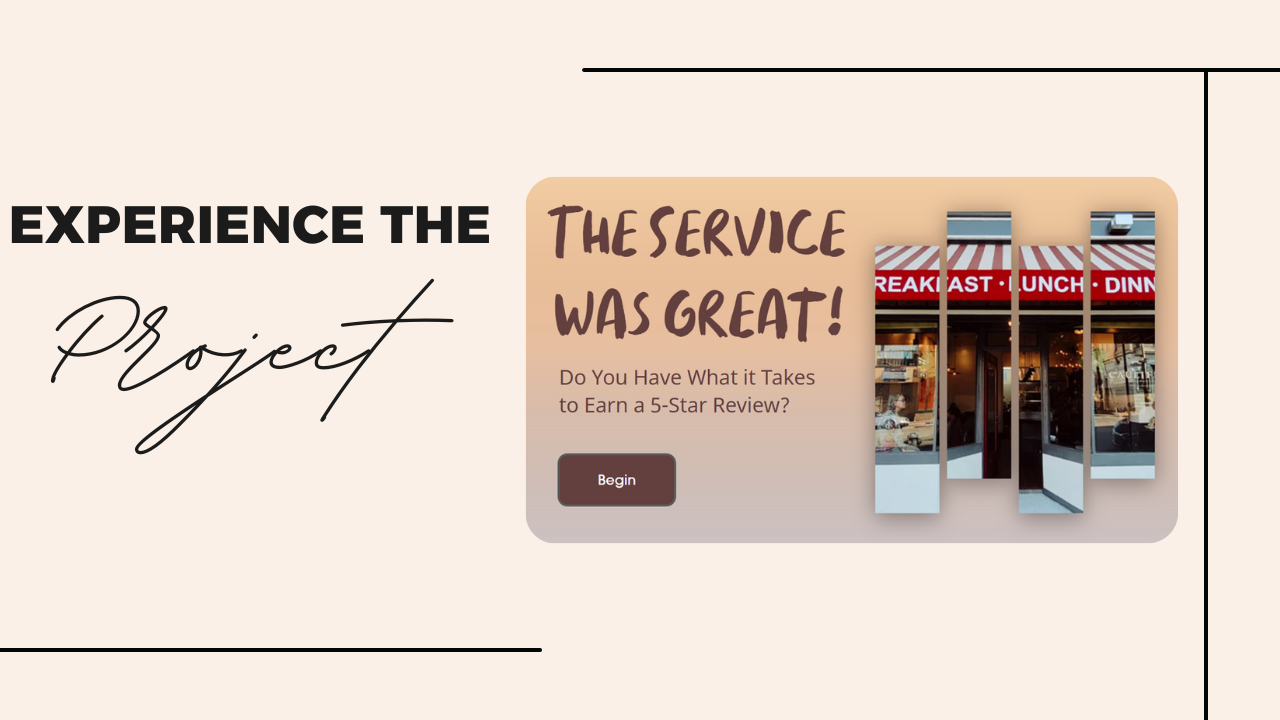
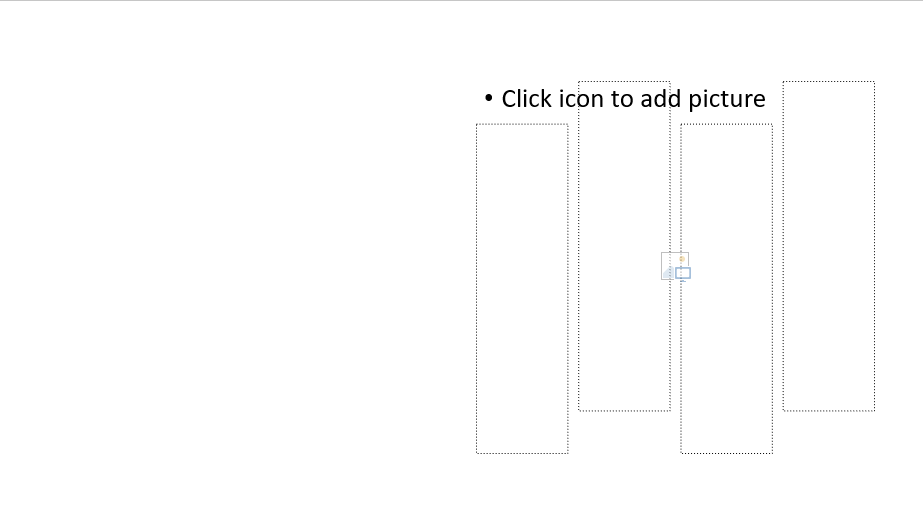
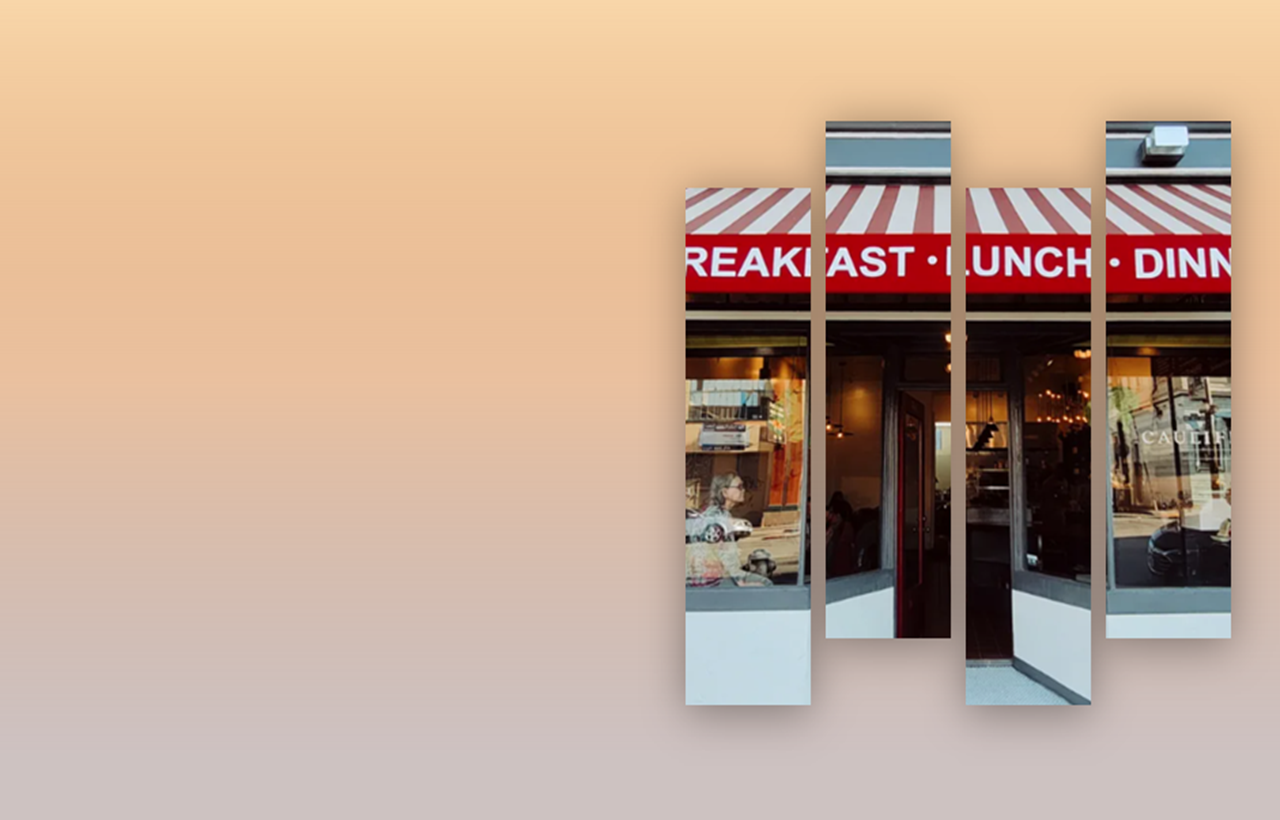
I used Microsoft PowerPoint to create a custom photo layout, and create a custom gradient for the title slide, using the colors from the style guide.
Interactive Prototype
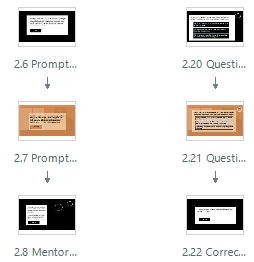
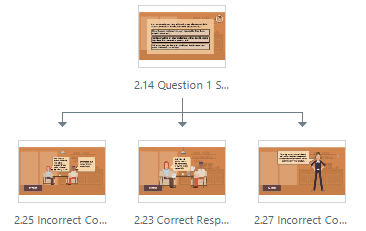
Once I completed the visuals, I began to create an interactive prototype in Storyline. I demonstrated the branching interactivity by including the first scenario-based question, as well as the correct and incorrect consequence slides that the answer choices would lead to.
Upon receiving feedback from a design expert, I began to make adjustments to colors, button sizes, and character sizes.
Full Development
With the prototype complete, I took note of feedback that I had received from design experts and SMEs, and moved into the final development phase. I completed the remaining two scenarios, and added layers to the question slides for the information from the mentor.
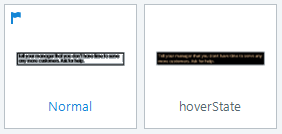
I also added “hover” states for each of the buttons.
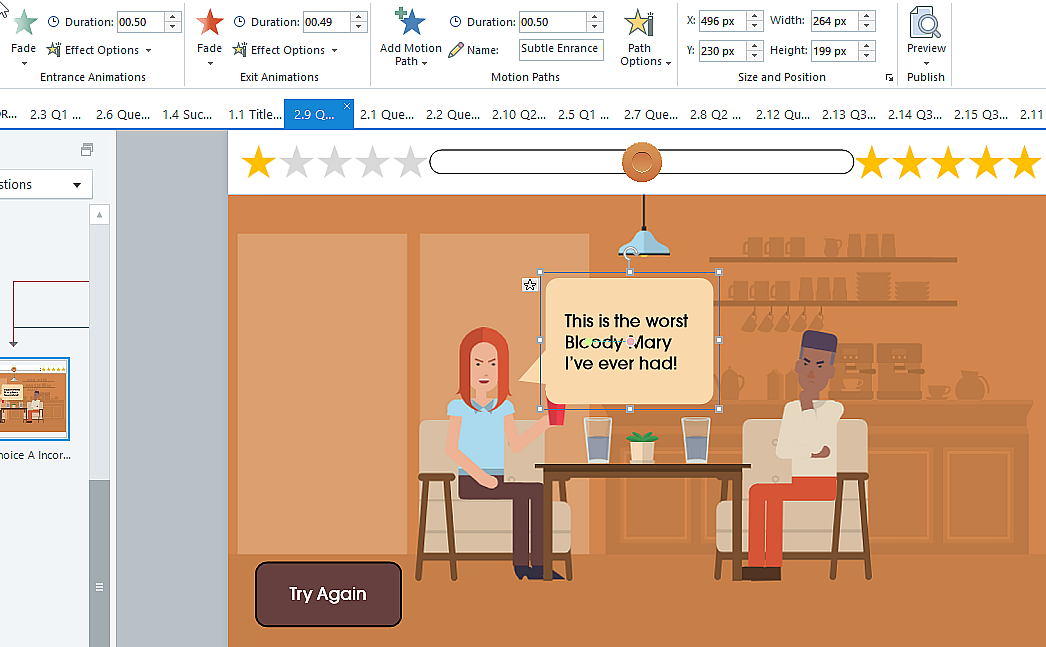
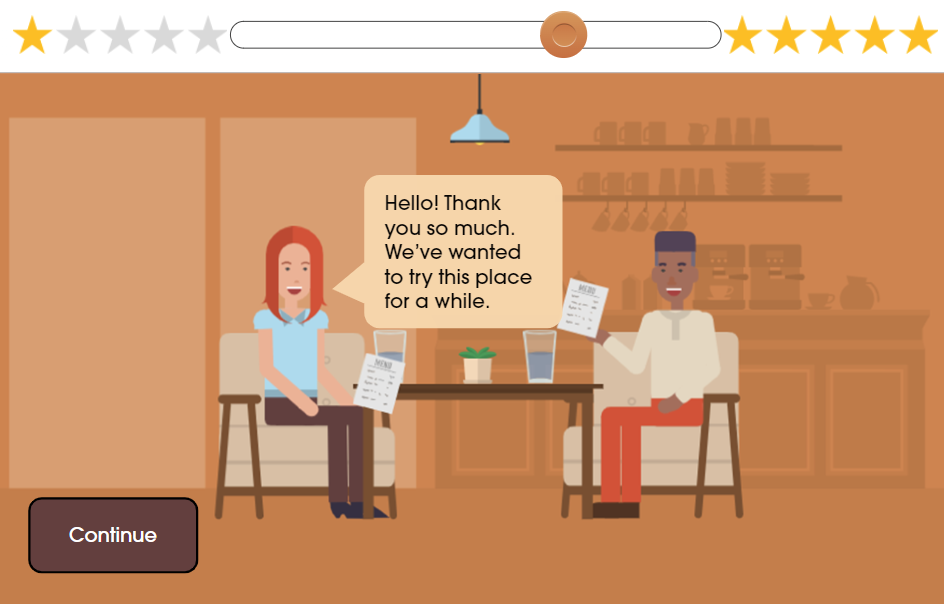
I developed the programming for each slide, including the necessary triggers that would allow the user to smoothly transition through the scenario. In order to add visual interest to the character illustrations, I added an entrance and exit animation, along with a motion path, to each of the dialogue callouts. This created the effect of the callout fading in and moving as if from the character’s mouth.
I next developed a success meter, that would move to the right toward a 5-star visual, or to the left toward a 1-star visual, according to the user’s decisions.
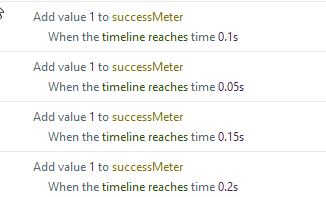
I used triggers with a variable that would cause the slider to move slowly when the consequence slide appears.
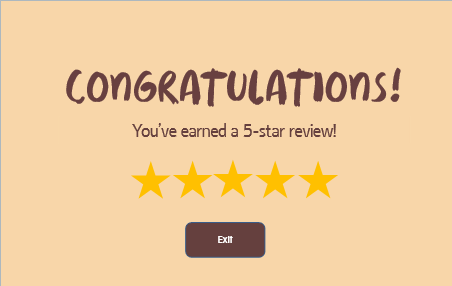
After the final question scenario, I added a condition to the variable that would take the user to either the Success or Failure slide, based on the “score,” or the value of the variable.
Results and Takeaways
Through this project, I began working with Adobe XD, and deepened my understanding and use of Microsoft PowerPoint, Snagit Photo Editor, Vyond Video Animation, and Articulate Storyline.
A couple of the areas that I struggled with were animating in the dialogue callouts with the desired effect, and programming the success meter to function correctly. I conferred many times with a design expert in order to correct these problems. I’ve learned that consulting an expert is the best way to hone my craft in order to develop the most professional looking projects.
I have received positive feedback from members of the instructional design community, as well as family and friends. All have been extremely impressed with the skill I’ve managed to develop in a short period of time.
If I were to do this project again, I would want to spend more time learning to use Adobe XD, as well as learning to use Adobe Illustrator. I know that this knowledge would help me to create visuals that are appealing, as well as technically skillful.

